
前言:现在很多人搭建web环境选择了一键脚本或可视化管理面板,因此我认为在使用一键脚本之前,一定要自己搭建一次, 生产环境的话,炸了都不知道怎么快速解决可就太难受了,另外就是安全性问题,这个不多谈,总之能不用就不用吧
刚好最近手边有台小内存吃灰VPS,手动搭个apache做下载站吧
【1】编译安装需要gcc套件
yum install -y gcc gcc-c++【2】 编译安装Apr
官网最新版下载页面:http://apache.communilink.net/apr/
cd /root
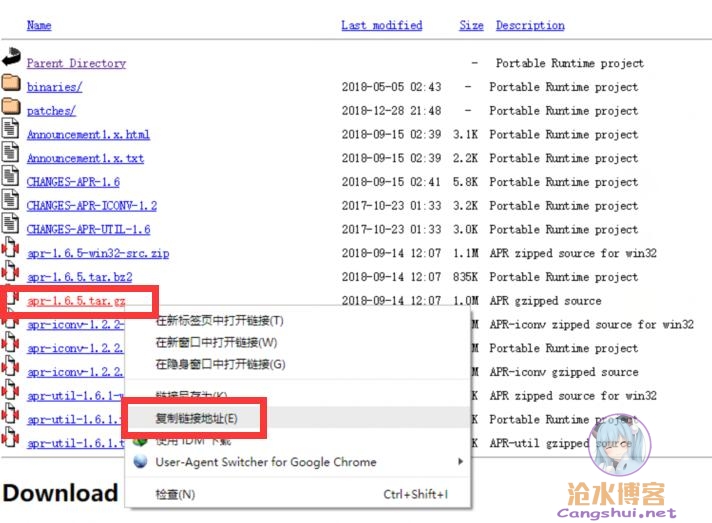
wget http://apache.communilink.net/apr/apr-1.6.5.tar.gz
tar zxf apr-*
cd apr-*
./configure --prefix=/usr/local/apr && make && make install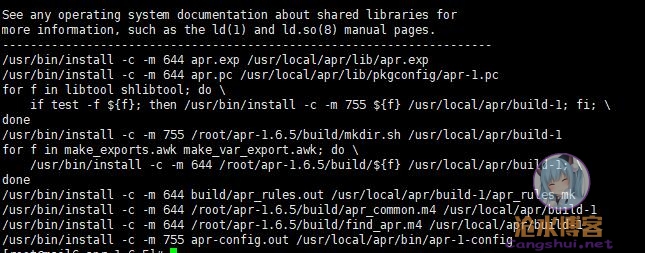
【3】编译安装 Apr-util
找到开头是 apr-util, tar.gz后缀的文件,复制链接,然后wget它
cd /root
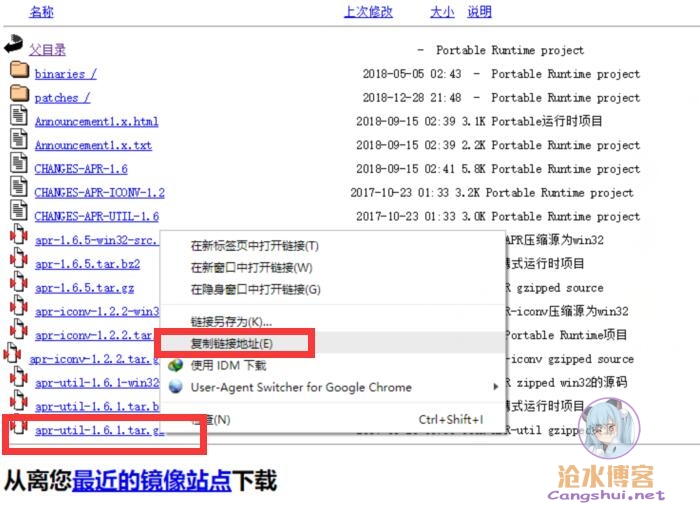
wget http://apache.communilink.net/apr/apr-util-1.6.1.tar.gz
tar zxf apr-util*
cd apr-util*
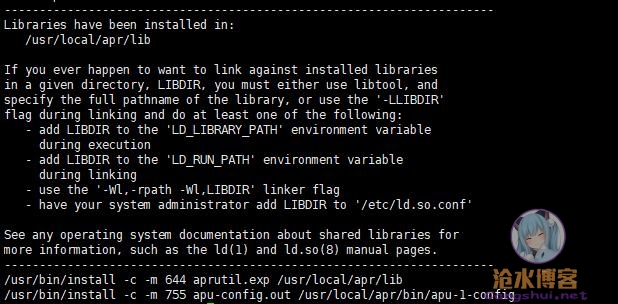
./configure --prefix=/usr/local/apr && make && make install如果报错
configure: error: APR could not be located. Please use the –with-apr option. ,则使用这条命令编译
./configure --with-apr=/usr/local/apr && make && make install如果报错xml/apr_xml.c:35:19: fatal error: expat.h: No such file or directory,则是缺少 expat-devel
yum install -y expat-devel然后重新编译即可
【4】 安装openssl (版本不够高的话装apache会报错)
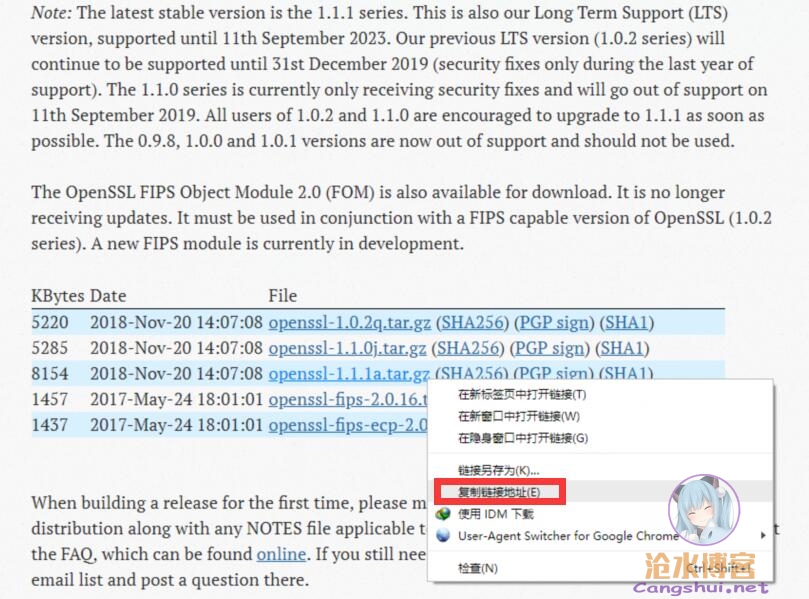
官网下载地址https://www.openssl.org/source/
cd /root
wget https://www.openssl.org/source/openssl-1.1.1a.tar.gz
tar zxf openssl*
cd openssl*
./config -fpic --prefix=/usr/local/openssl && make && make install
【5】安装 pcre
官方下载页面https://ftp.pcre.org/pub/pcre/
找个最新版本直接wget,和上面一样,后缀要是tar.gz
cd /root
wget https://ftp.pcre.org/pub/pcre/pcre-8.42.tar.gz
tar zxf pcre-*
cd pcre-*
./configure --prefix=/usr/local/pcre && make && make install
【6】上面的这些操作都是为Apache准备的,接下来开始安装Apache
Apache的包名是httpd而不会apache
官方下载页面http://apache.communilink.net/httpd/
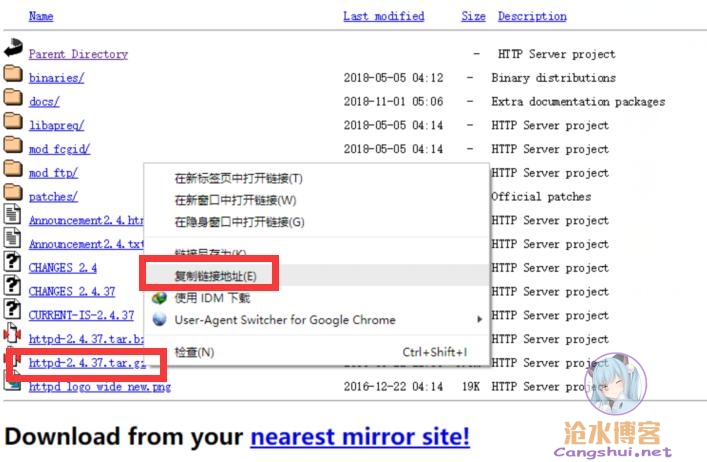
找到开头是httpd, tar.gz后缀的文件,复制链接,然后wget它
cd /root
wget http://apache.communilink.net/httpd/httpd-2.4.37.tar.gz
tar zxf httpd-*
cd httpd-*
./configure --prefix=/usr/local/httpd && make && make install
某些情况下发生报错:
configure: error: pcre-config for libpcre not found. PCRE is required and available from http://pcre.org/ ,可以选择再yum安装一次pcre
yum -y install pcre-devel然后继续编译
/usr/local/httpd/conf/httpd.conf 是apache的配置文件
启动apache命令:
/usr/local/httpd/bin/apachectl start启动之后,直接访问自己的IP,应该会显示一行“It works!”,恭喜你,搭建成功
将apache加入开机运行
echo "/usr/local/httpd/bin/apachectl start" >> /etc/rc.local默认网页文件位置
/usr/local/httpd/htdocs/index.html也都
注意:如果做到这里httpd已经启动但是无法访问可能造成原因有以下几种:
1.清除浏览器缓存后再次访问。
2.没有关闭selinux会出现访问不到的情况
3.没有关闭防火墙,则需要添加80端口,或者可以选择关闭防火墙

成功搭建,希望博主再出个手动搭数据库+php环境的教程
pcre别用编译安装,yum的版本并不旧
我为了省事都是直接yum install -y httpd 的……..编译太麻烦而且依赖问题很蛋疼…编译感觉就只是为了选版本和指定安装位置
真就手动编译啊……厉害了……一直都用某脚本搭的,因为我不会优化web配置啊QAQ