已搭建好的环境:
CNA01 192.168.140.100 【BMC192.168.101.7】 Valn140
CNA01 192.168.140.200 【BMC192.168.101.8】 Valn140
浮动IP:192.168.140.250 Valn140
VRM01:192.168.140.251 Valn140
VRM02:192.168.140.252 Valn140
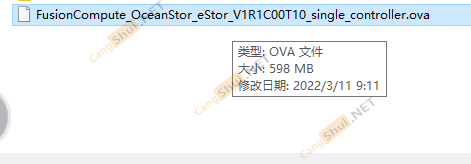
eStor模拟器
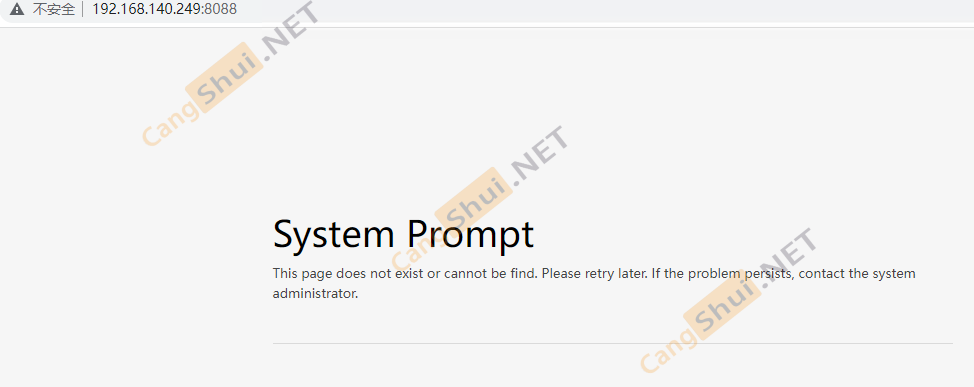
管理IP:192.168.140.249:8088 Vlan140
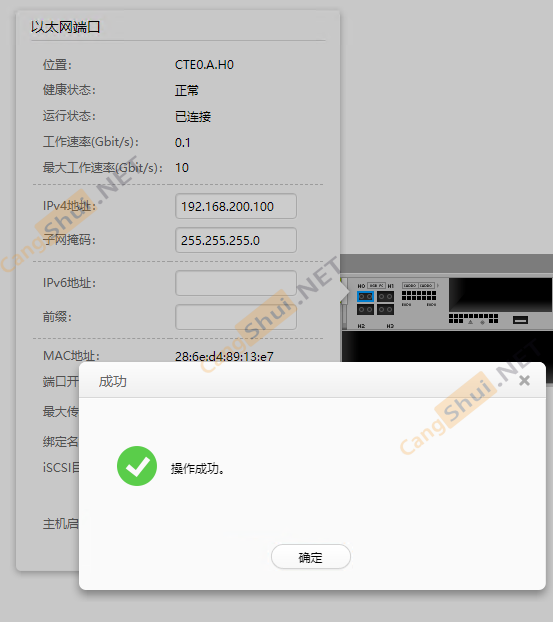
业务IP:192.168.200.100 Vlan200
先登录FC网页

DVS一般来说会自动创建一个默认的,然后也会自动配置好上行链路
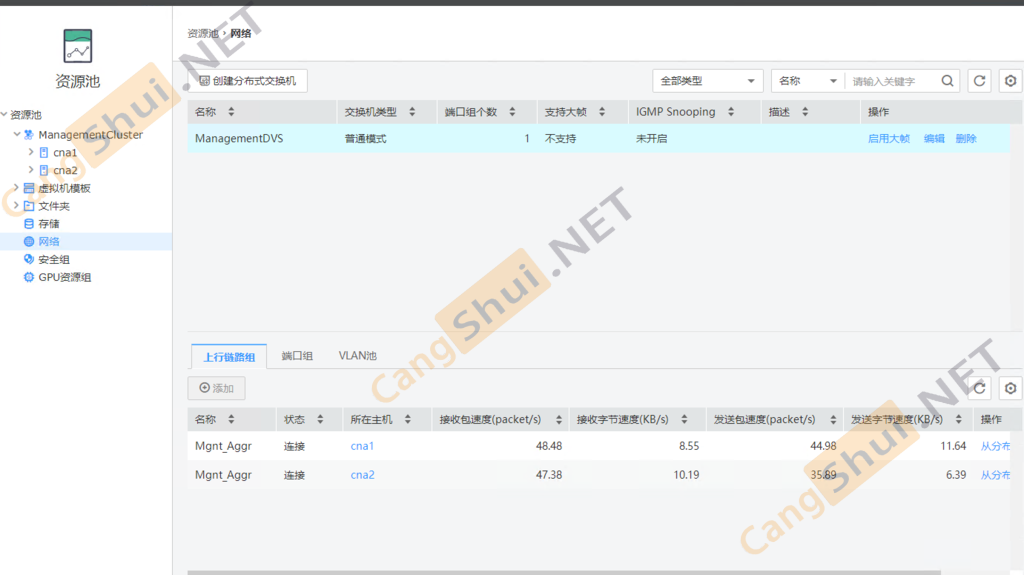
140是初始的VLAN也是VRM和CNA的
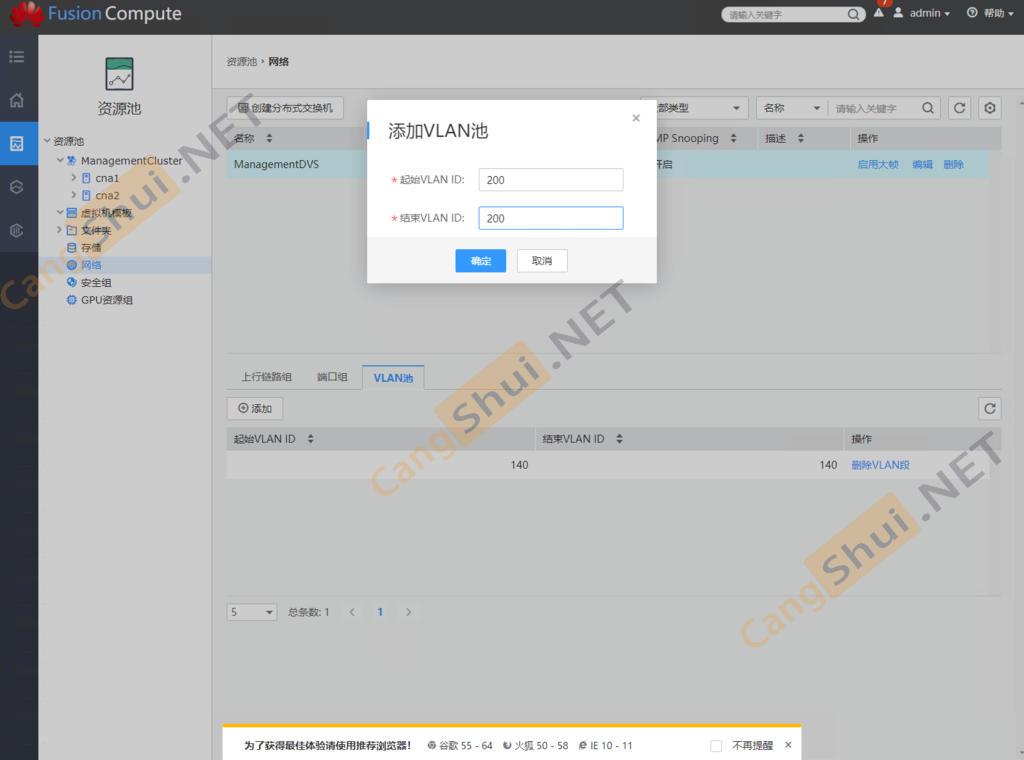
我们再添加一个给存储专用的VLAN和端口组
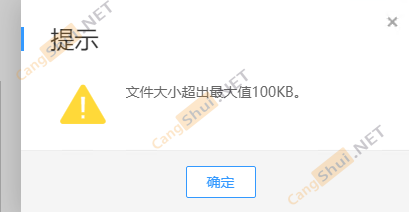
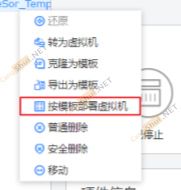
添加模版时出现错误,将权限全勾上
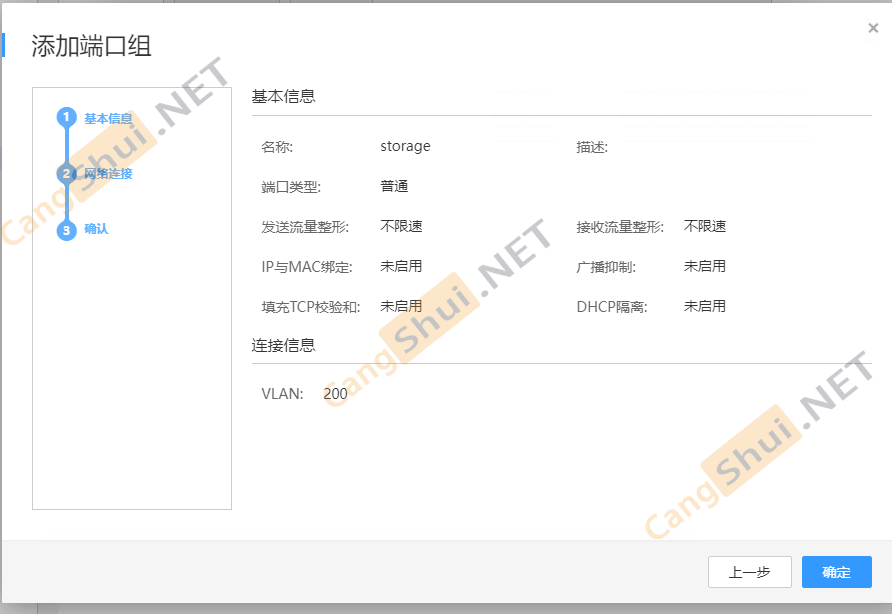
添加个关联VLAN200(刚刚划的)的端口组
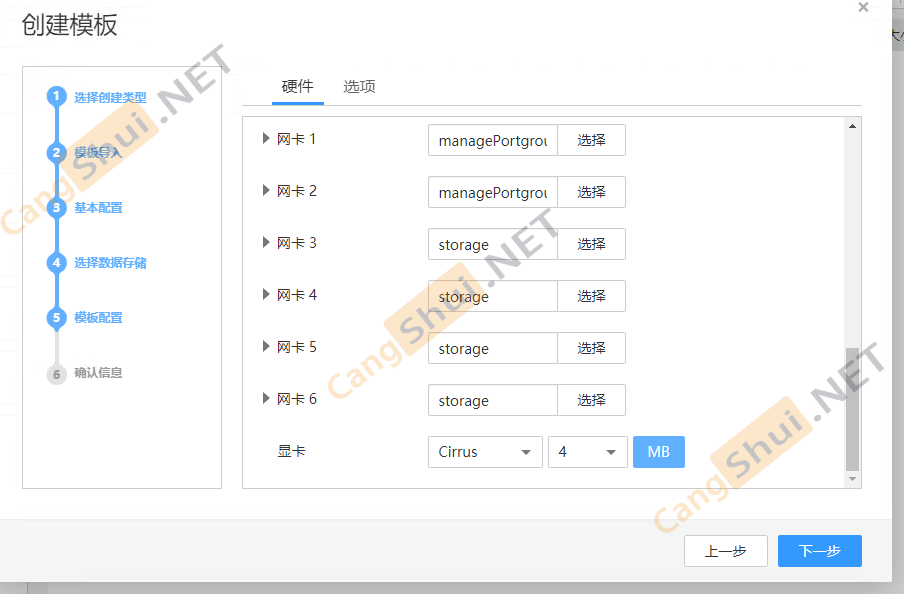
由于试验环境的虚拟机问题,CNA也就一个口子过交换机来连,所以说也就一个网卡3起业务口作用
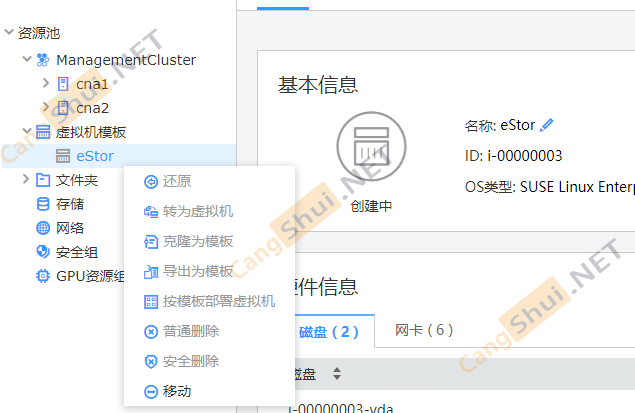
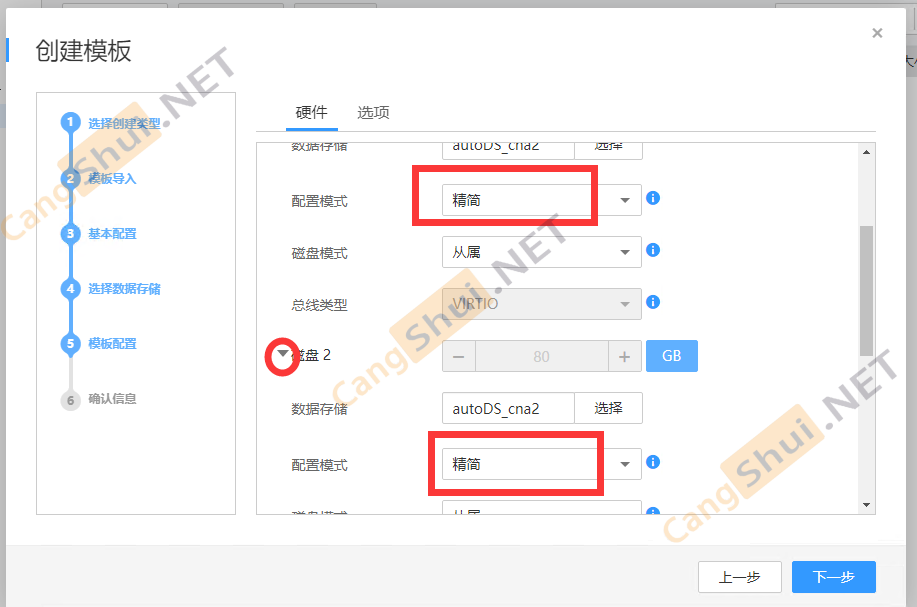
等待模版创建完成

启动之后VNC连上,给他配置个没人占用的IP,这是存储的管理口IP,因此可以和FC一个网段Vlan
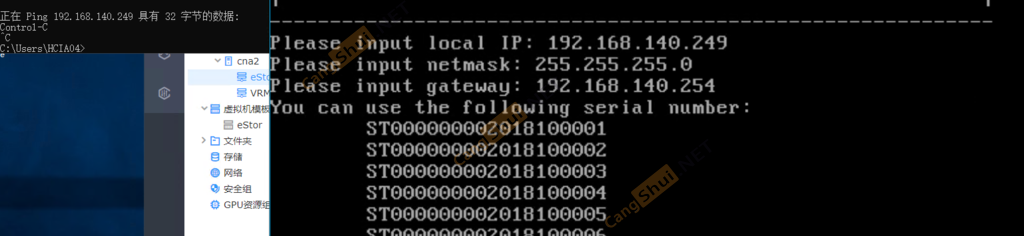
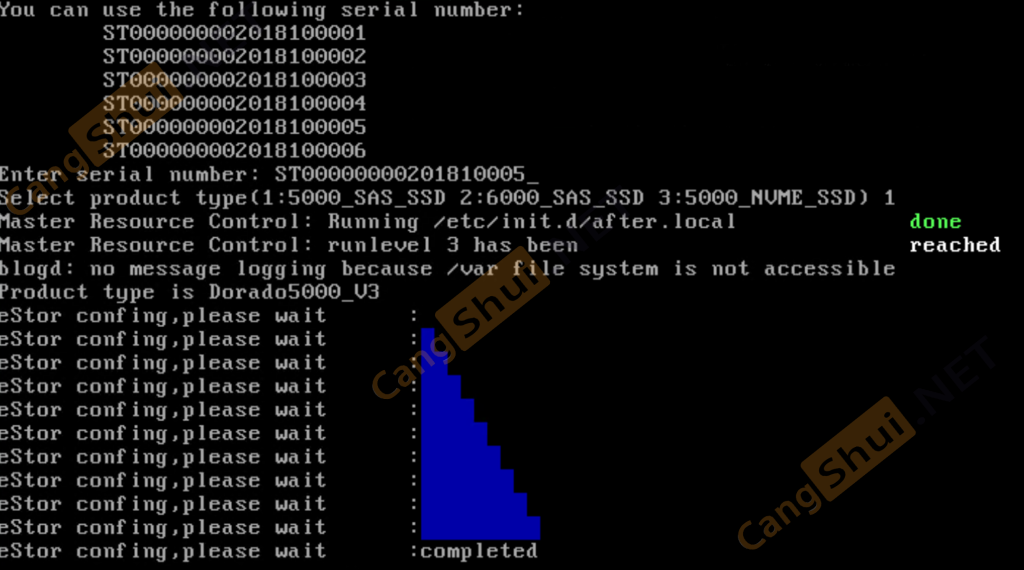
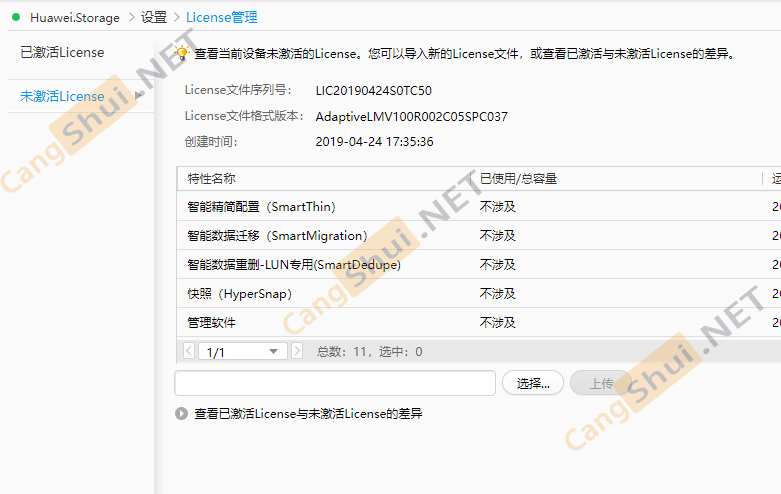
我选了个05的5000型号License
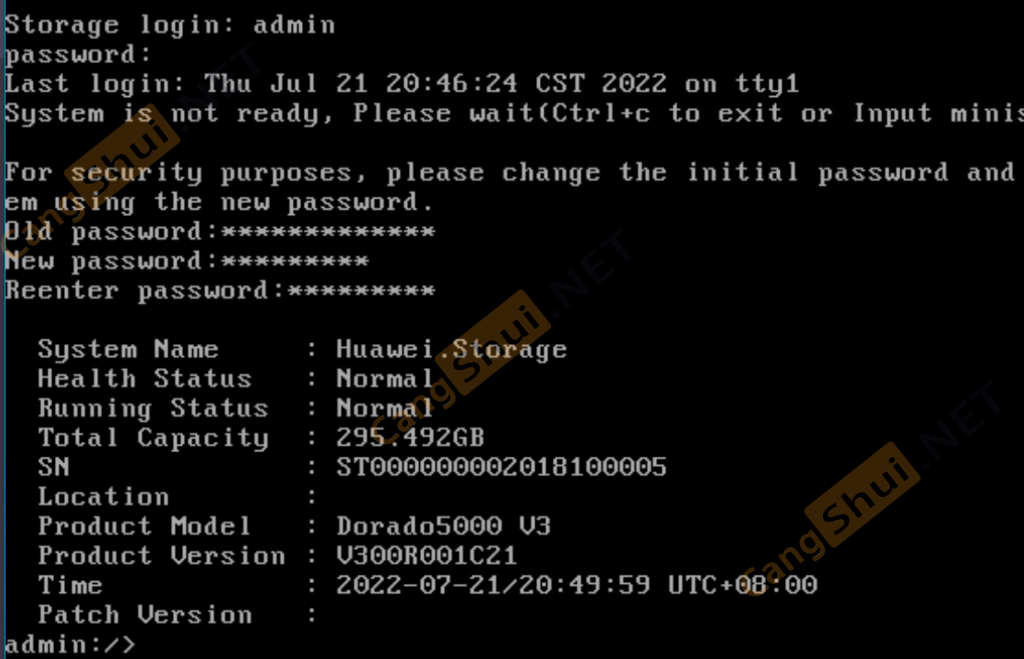
默认账号 admin 默认密码 Admin@storage
登录上后修改密码
存储web端口为8088。如果出现这个错误,将浏览器地址改为https
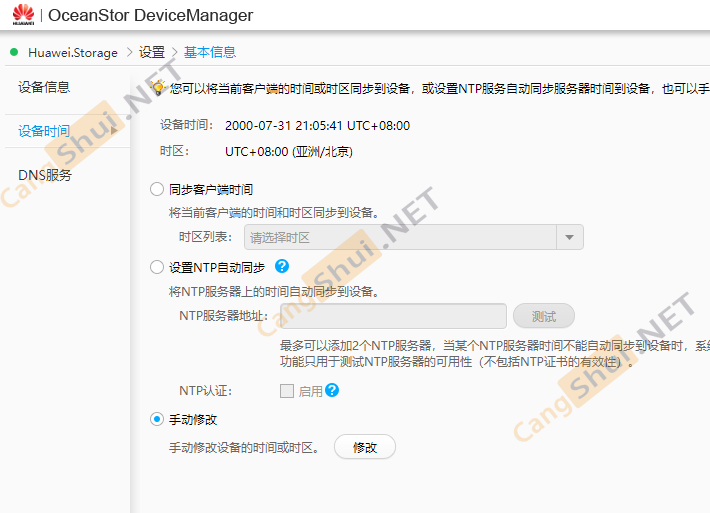
到手后第一件事改时间(激活 License 有效期只到19年)
激活,导入 License
两个CNA都连上虚拟的存储接口后(也许是因为是模拟环境的原因 ,只能eth0单线连接存储,很奇怪)
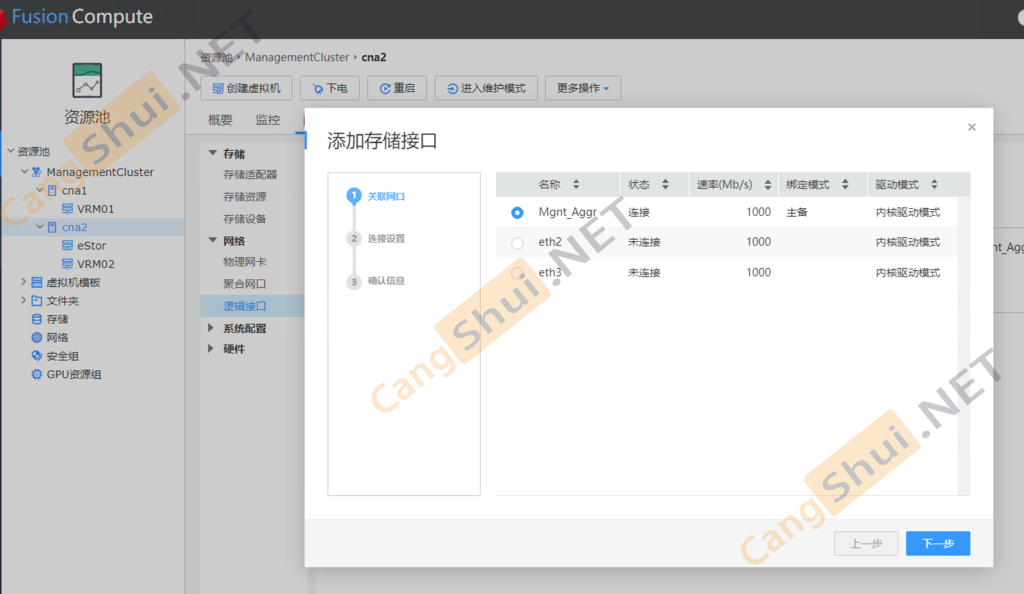
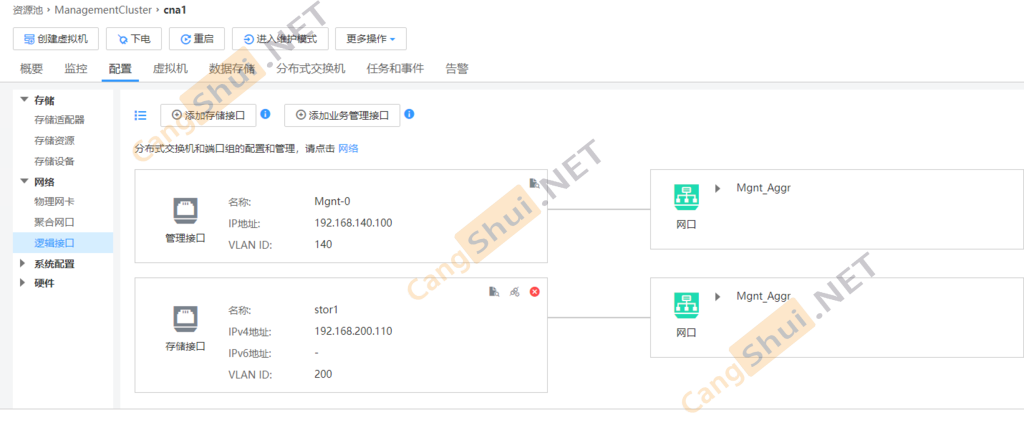
给CNA01和02分别设置个和存储同vlan的IP接口 确保它们能和存储连上(相当于虚拟了连接物理网线和IP的功能)
既然线连上了,然后去存储添加存储资源
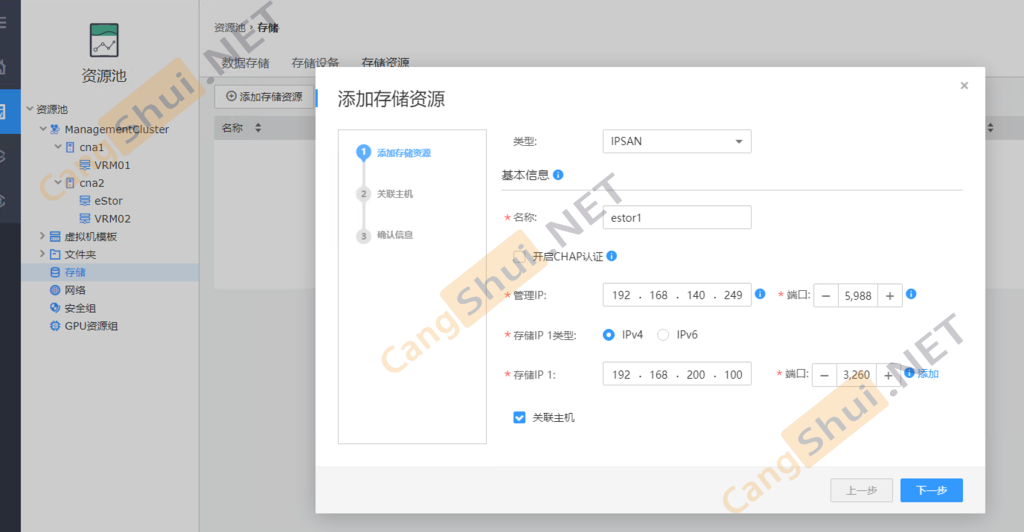
关联主机完成后,Stor就会收到发送来的iscsi请求
一个存储IP只能添加一次,不能重复添加
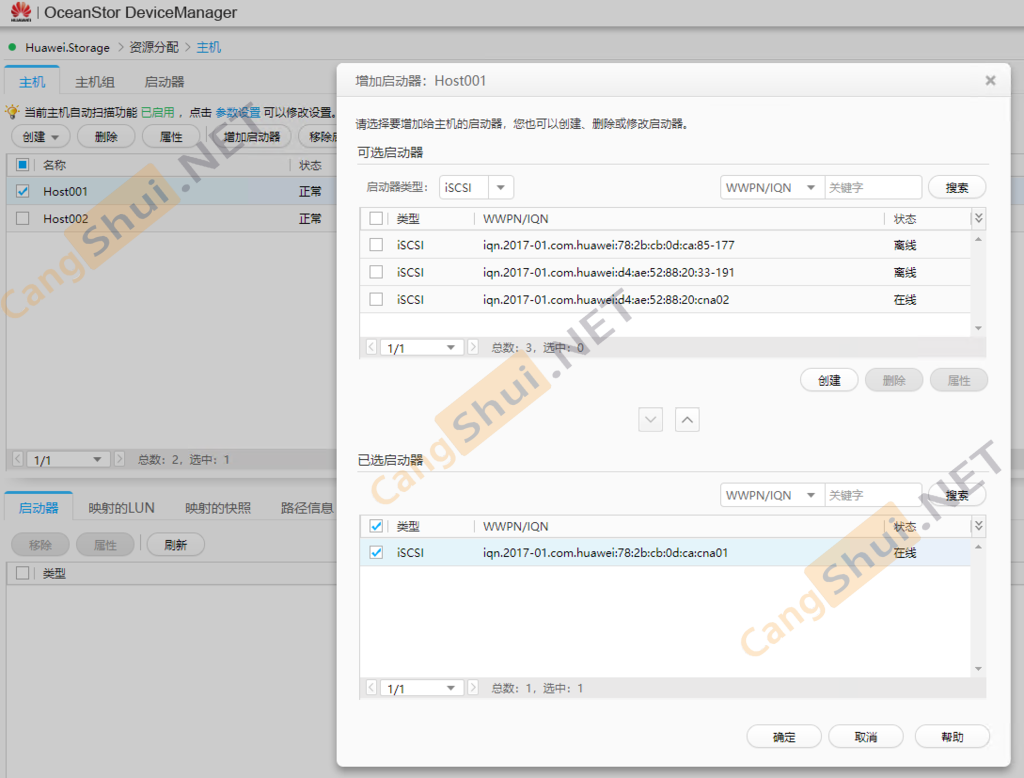
FC上你想要哪个主机关联哪个CNA的iscsi自己选就是了,可以创建多个主机 ,关联不同的CNA的iscsi
关联好后,FC存储扫描添加的存储
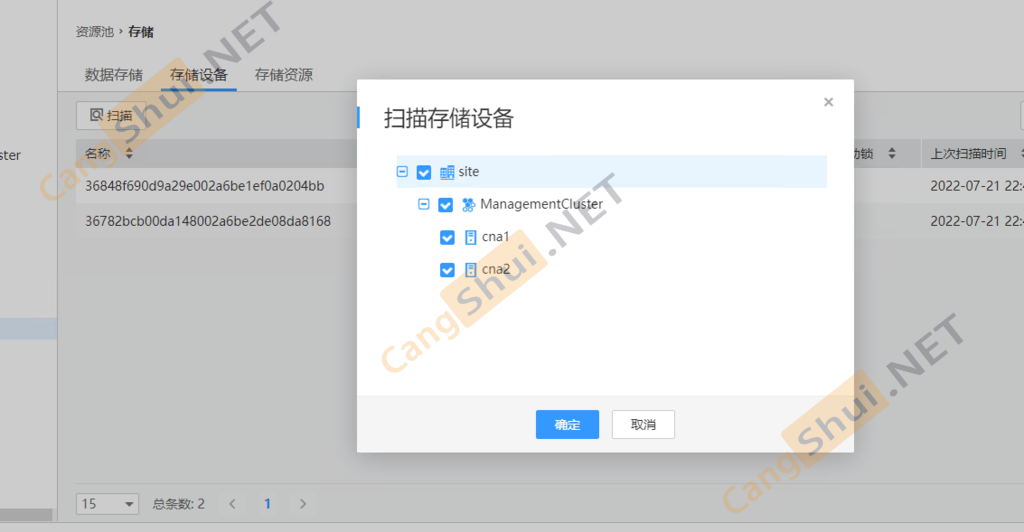
好了现在扫描到了,就添加数据存储,相当于windows里面扫描到新硬盘了,得给他初始化
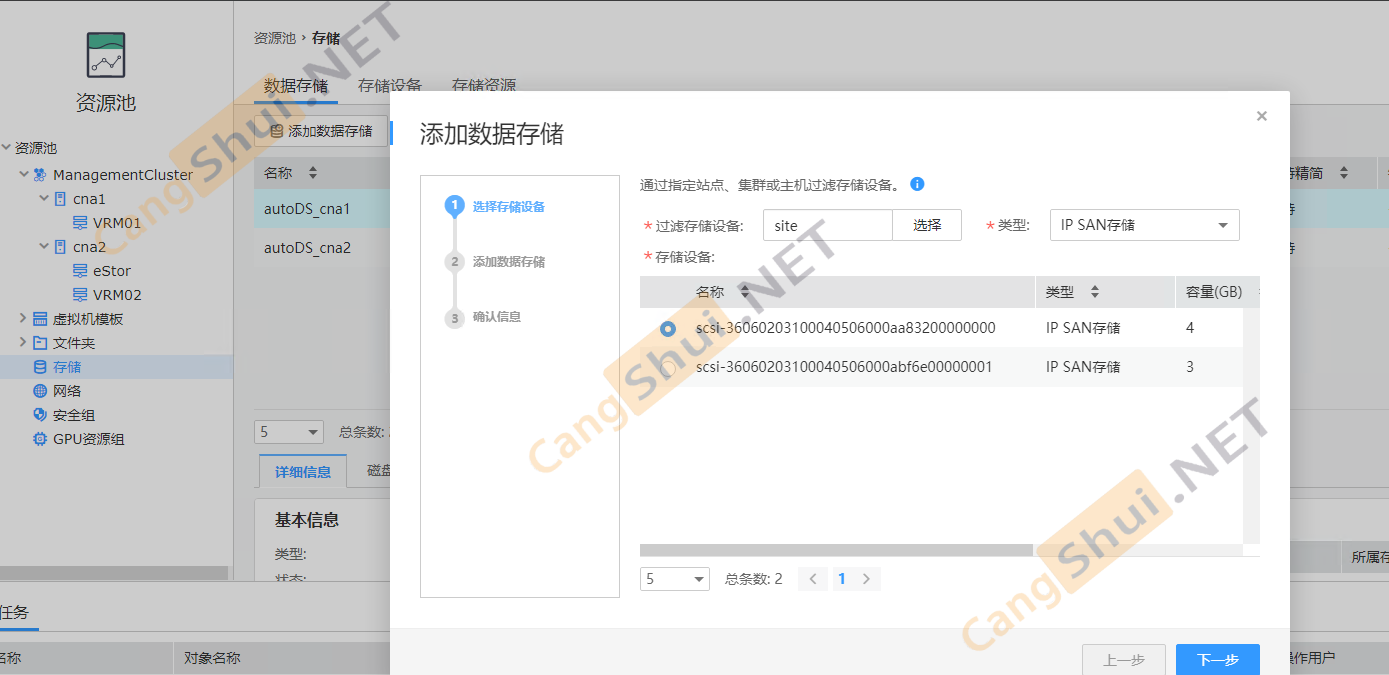
由于模拟器的限制,不能创建高于4G的磁盘,而虚拟化模式磁盘最低只能5G,因此只能裸设备了
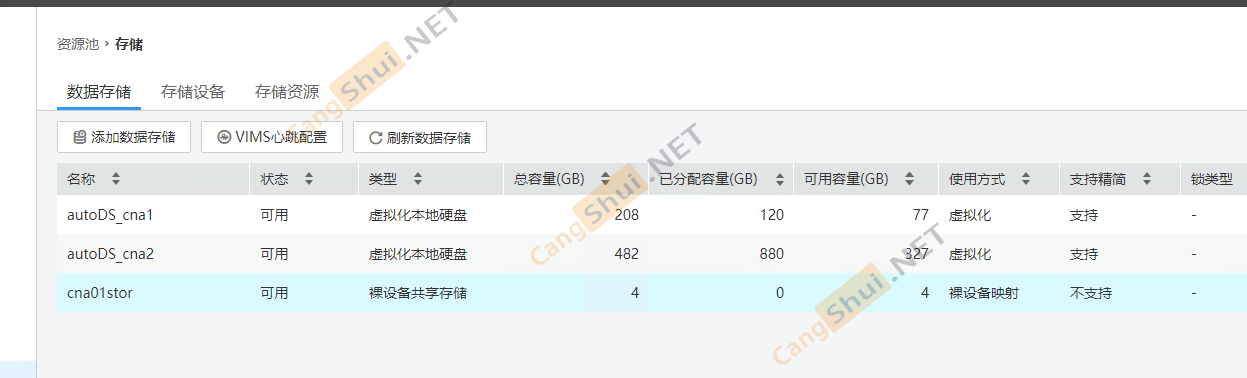
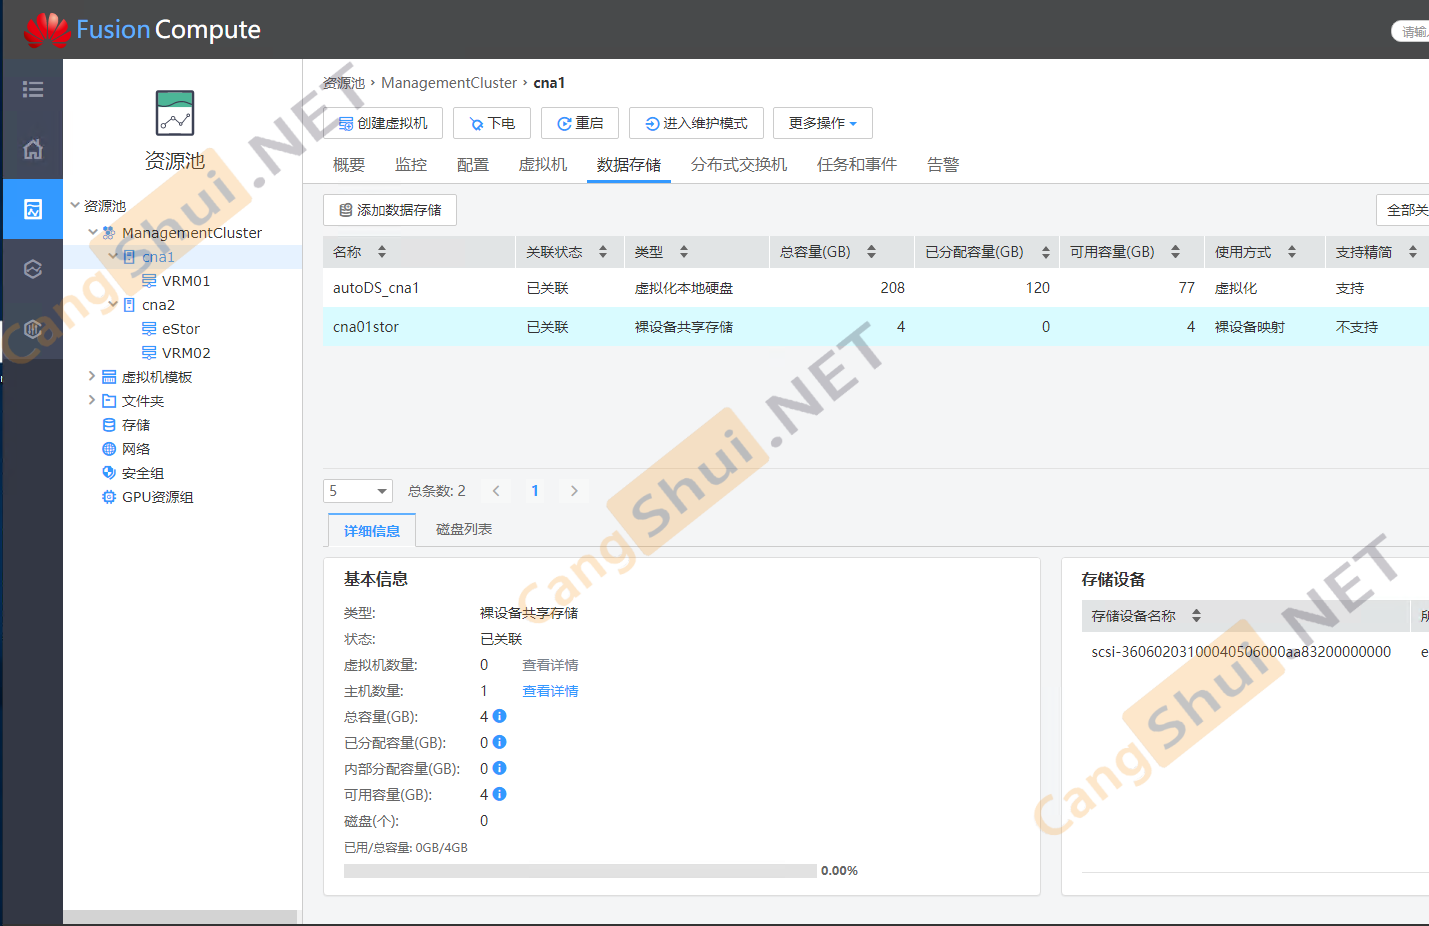
去CNA里看看,挂载成功,OK!

KMS不能访问了,上面文章里的是vlan写错了
kms网页访问不了了